How to Fix ‘Unreal Engine is exiting due to D3D device being lost’ Error?
The error message Unreal Engine is exiting due to D3D device being lost occurs when Unreal fails to communicate with the D3D device on your computer. This troublesome error is common and can occur even when no apparent issues are detected on users’ computers.
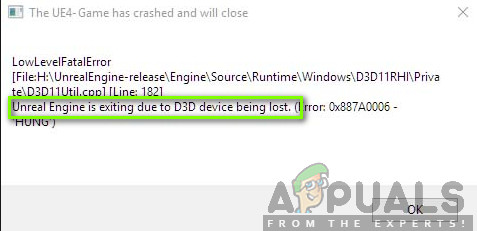
According to the Unreal Engine developers, this issue usually occurs when a computer’s graphics or hardware components do not synchronize well with Unreal Engine, causing it to malfunction with the D3D device. This article will outline potential causes for this issue and provide solutions to resolve it.
What Causes this Error?
After investigating numerous user reports, we identified common factors that might cause the error message:
- Outdated Unreal Engine: If the Unreal Engine isn’t up to date with the latest build, communication issues may occur with recently updated system components, and vice versa.
- Antivirus software: Many antivirus applications mistakenly block Unreal Engine, causing a false positive. This can be resolved by creating an exception or disabling the antivirus temporarily.
- Outdated Device Drivers: The error can also come from having outdated or corrupt device drivers. Reinstalling or updating the drivers usually fixes this problem.
- Incomplete Steam Files: As Steam often works alongside Unreal Engine, corrupt or incomplete game/installation files within Steam can prompt the error.
- NVIDIA GeForce Settings: Certain GeForce settings can interfere with gameplay. Resolving this usually involves disabling specific settings or the entire module.
- Overclocking: Though overclocking can enhance PC performance, it can lead to conflicts with resource-intensive applications like Unreal Engine. Disabling overclocking might resolve these issues.
- Default Graphics Card: In some cases, integrated graphics might remain active even when a more powerful dedicated graphics card is installed, causing conflicts and issues.
Before attempting any solutions, make sure you are logged in as an administrator and have an active internet connection.
1. Update Unreal Engine, Windows, and Steam
By updating Unreal Engine, Windows, and Steam, you make sure that all components speak the same language and work together smoothly. Updates often include important patches for bugs or compatibility issues that, if left unaddressed, could cause errors. Regular updates maintain system stability and can often be the simplest fix to such frustrating problems.
- Open the Launcher and go to the Library.
- In the Library, if an update is available for the Engine version, you’ll see a plus icon.
- Click on Add versions to download and install the new engine version. Then, click Update.
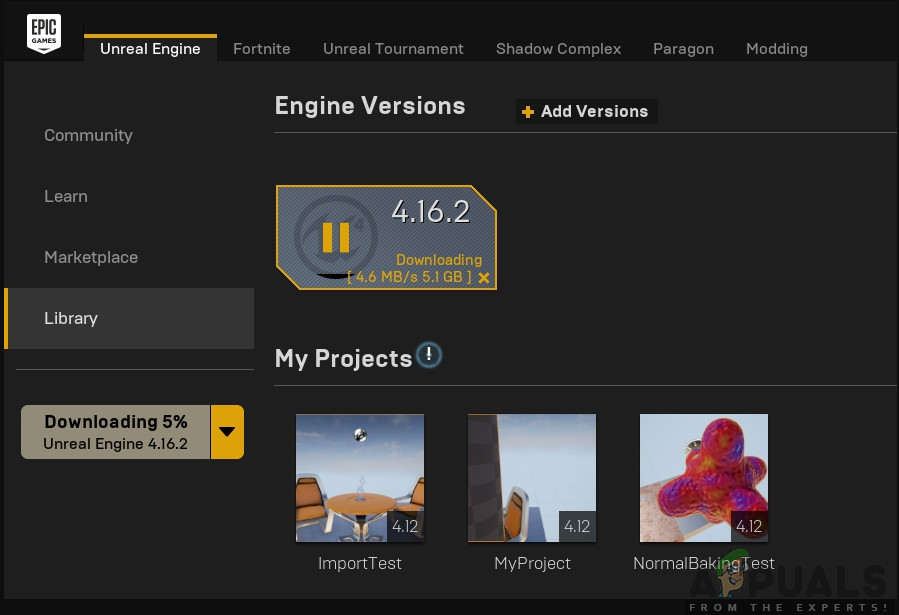
Updating Unreal Engine
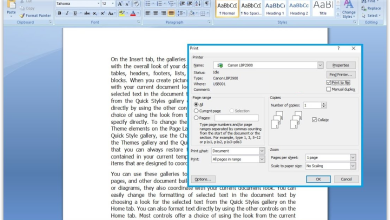
Next, update Windows:
- Press Windows + S, type update in the dialogue box, and select the Update option when it appears.
- Click Check for updates. Windows will check for available updates.
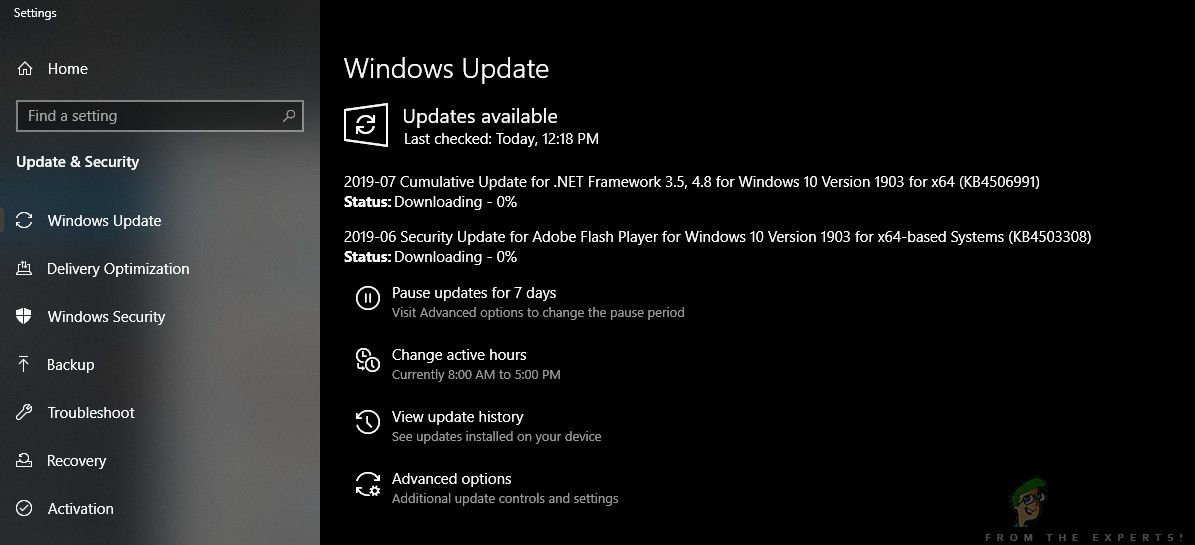
Updating Windows
Let the process finish and, if required, restart your computer. Then, update Steam:
- Start the Steam client with an active internet connection.
- Steam will automatically download the latest update. Restart your computer again after the update completes.
Now, try running Unreal Engine to see if the error has been resolved. If the error persists.
2. Disable NVIDIA Game Booster (or other functions)
Features like NVIDIA’s Game Booster are designed to optimize game performance by tweaking various settings automatically. However, sometimes these adjustments might not align well with specific games or applications, leading to glitches and crashes.
By turning off Game Booster or similar enhancements, you eliminate the possibility of these automated modifications conflicting with Unreal Engine, thereby stabilizing your gaming experience.
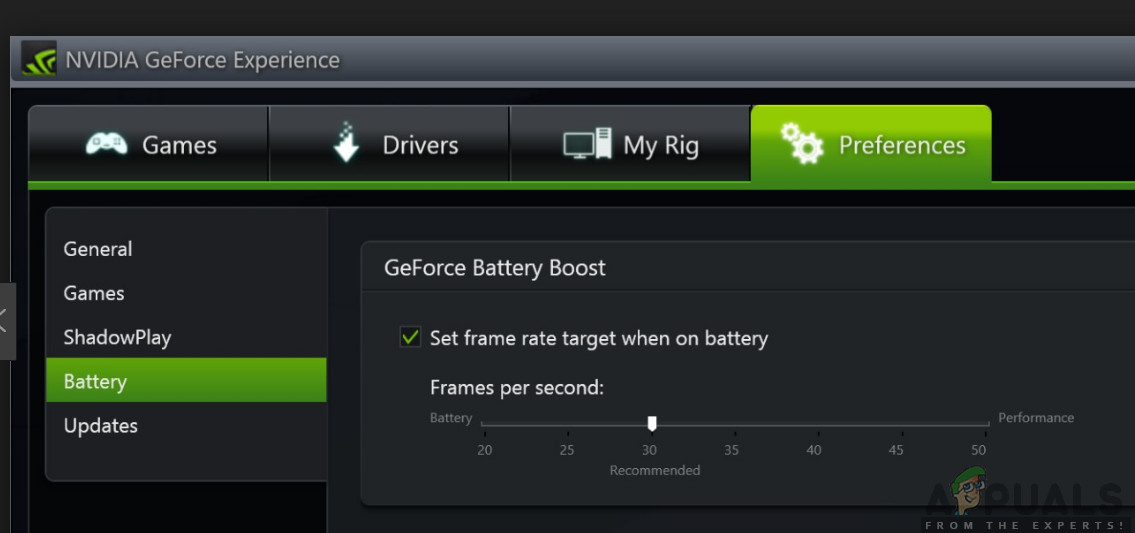
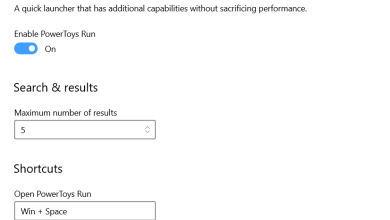
Disable these features in your GeForce Experience application or temporarily disable GeForce Experience itself to test whether it resolves the issue.
3. Change the Preference for Dedicated Graphics
When you set your system to prioritize dedicated graphics, you’re directing it to use the more powerful standalone graphics card over the default integrated one.
This can fix the issue as it makes sure that Unreal Engine utilizes the full capabilities of your dedicated GPU, leading to smoother performance and preventing conflicts that may occur from dual-GPU setups. By doing so, the game’s rendering tasks are handled more efficiently, which can help eliminate the error.
- Right-click on the Desktop and select NVIDIA control panel.
- Click on Manage 3D Settings then Program settings.
- Add Unreal Engine from the program list and select NVIDIA (Dedicated graphics) from the graphics processor options.
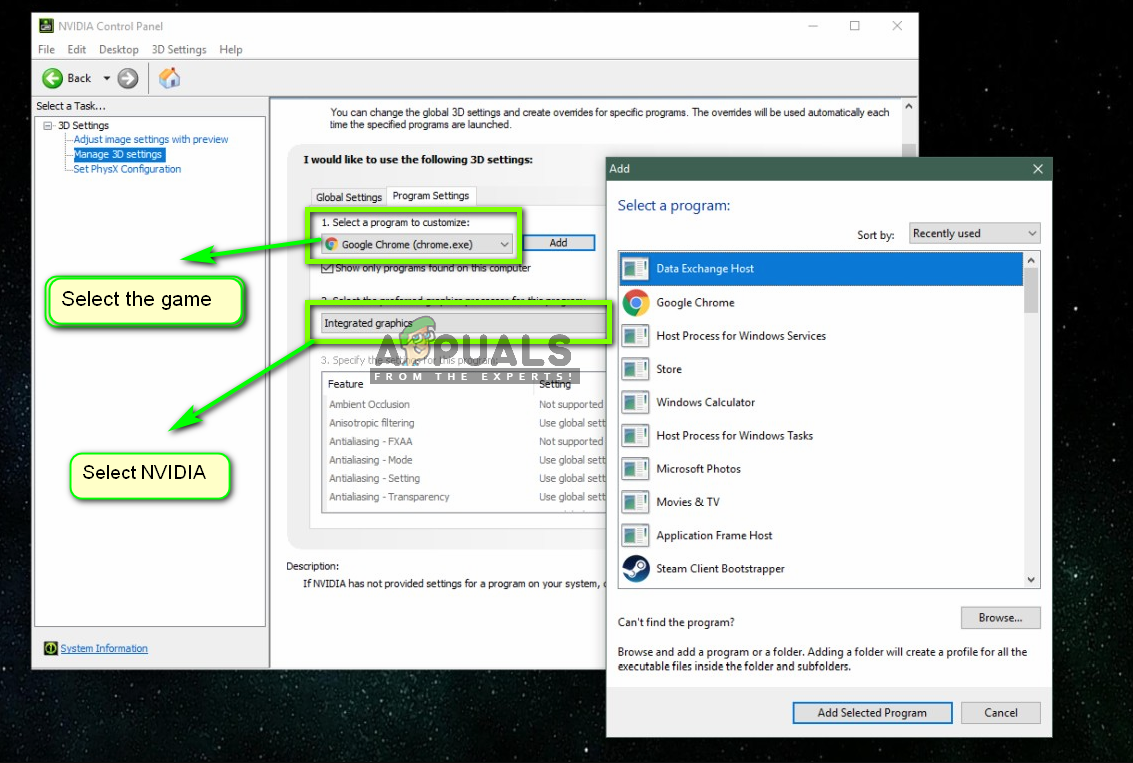
Changing preference of Graphics Card - Save changes and restart your computer. Try launching the game or application to check if the issue is resolved.
4. Disable on-board Graphics
When you disable the onboard graphics, you basically optimize the process by which your system decides which graphics unit to use for rendering. This action eliminates any confusion that might occur when both onboard (integrated) and dedicated graphics cards are trying to run simultaneously.
By turning off the onboard chipset, you make sure that all graphics tasks are solely handled by the dedicated GPU, thereby reducing the chances of this error occurring.
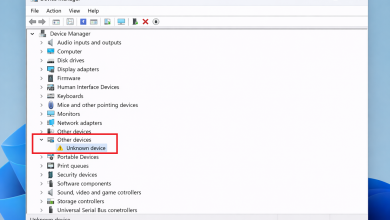
- Press Windows + R, type devmgmt.msc and press Enter.
- In Device Manager, expand Display adapters and right-click on the onboard graphics option.
- Select Disable.
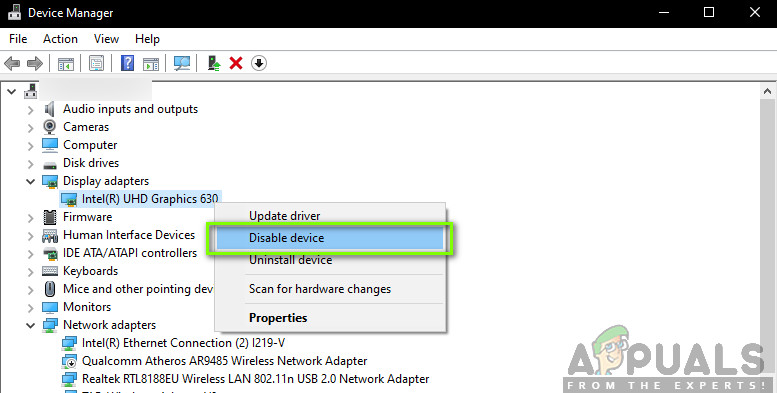
Disabling on-board Graphics
Your screen may go blank temporarily as the system switches to dedicated graphics. Save any changes and exit. Then, launch Unreal Engine to see if the problem has been fixed.
5. Disabling Antivirus/Firewall Software
These security programs scan every operation on your system to intercept malicious activities. Sometimes, they are overprotective and mislabel legitimate software, like Unreal Engine, as a potential threat, thereby restricting its access to essential system resources.
By disabling these programs, you restore Unreal Engine’s ability to operate uninterrupted. Always remember to reactivate your antivirus or firewall once you’ve finished troubleshooting to make sure your system remains protected.
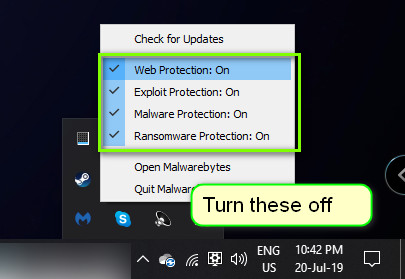
Refer to our guide on How to turn your Antivirus off. Restart your computer and try using Unreal Engine again. If there’s no change, consider uninstalling the antivirus software temporarily. Avast and AVG are two known reasons of such interference, but the principle applies to any antivirus tool you’re using.
6. Disable Overclocking and SLI Technology
Overclocking forces your CPU and GPU to operate at speeds higher than their factory settings to enhance performance. However, this can introduce instability and lead to errors with demanding applications like Unreal Engine. Restoring these components to their default speeds can eliminate these conflicts.
Similarly, SLI technology links multiple NVIDIA GPUs to produce a combined output, which can also cause compatibility issues with certain programs. Deactivating SLI can ensure that Unreal Engine only utilizes a single graphics processor, thereby preventing the error from occurring.
7. Updating Graphics Drivers
New drivers often contain bug fixes, performance enhancements, and compatibility improvements that can resolve issues like the error at hand. By updating these drivers, you’re basically aligning your GPU’s software to work smoothly with the latest games and engines, reducing the risk of unexpected crashes or performance drops.
- Download and install DDU (Display Driver Uninstaller) from its official website.
- Boot your computer in safe mode and launch DDU, then select Clean and restart to remove the current drivers.
- Boot normally, open Device Manager (Windows + R, type devmgmt.msc), right-click and select Search for hardware changes to install default drivers.
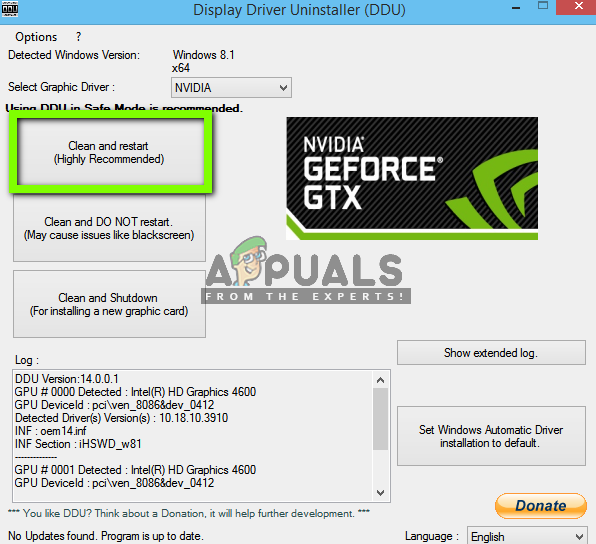
Cleaning Drivers - Install the latest drivers either through Windows Update or by downloading them from the manufacturer’s website, then restart your computer to see if the issue is resolved.
Note: After updating drivers, you might need to revisit the first solution.
8. Disable Full-screen Mode
In Full-screen mode, a game has complete control over the display, which can sometimes lead to conflicts with the graphics driver or operating system’s display settings.
By switching to Windowed mode, you allow the system to manage these interactions better, potentially avoiding the issue causing Unreal Engine to lose connection with the D3D device. This small adjustment often results in increased stability, especially if the error is related to display or graphics driver conflicts.
9. Reinstall DirectX and Changing FreeSync Settings
DirectX is a collection of APIs that handle tasks related to multimedia and game programming on Microsoft platforms. An outdated or corrupt DirectX installation can lead to errors in applications that depend on it—like Unreal Engine. Reinstalling DirectX makes sure that all these multimedia functionalities are up-to-date and running as intended, eliminating any inconsistencies that might cause the engine to crash.
On the other hand, FreeSync is AMD’s adaptive synchronization technology built to reduce screen tearing and stuttering—a common issue in gaming when the monitor’s refresh rate and the game’s frame rate are out of sync. However, certain settings in FreeSync could interfere with how Unreal Engine renders its graphics.
By adjusting your FreeSync monitor settings, particularly toggling the Full-Screen option or enabling settings for a selected display, you can create a more stable environment for the engine to operate in, potentially avoiding the D3D device errors.
- Reinstall DirectX on your computer and restart.
- If you use a FreeSync monitor, navigate to GSync settings in the GeForce Experience application. Enable the Full-Screen option and check the box for Enable settings for selected Display.
- Restart your computer after making changes and check if the issue is resolved.
You can also attempt the same process for Windowed mode.
The first solution is absolutely unnecessary because it basically says to download an Unreal Engine E D I T O R which is used to make games from the Epic Store library. It won’t affect any games you have in your library. Did the person who wrote the article even read it ?