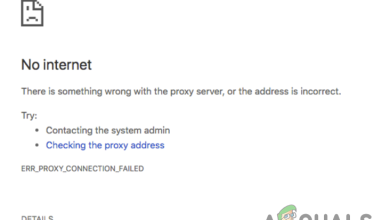
How to Fix Chrome Won’t Open?
You may have experienced an issue where Google Chrome won’t open at all. There are several possible causes for this problem, such as Chrome already running in the background without appearing on the screen.

Additionally, this problem may occur if Windows Defender or any third-party antivirus software prevents the chrome.exe file from opening. Renaming chrome.exe or creating a new shortcut has resolved the issue for some users.
A corrupted Google Chrome user data folder, which contains cache, profile, and other details, can also cause the issue.
| Issue | Chrome Won't Open |
| Reasons | Firewall blocking Chrome.exe file Compatibility problems The corrupted Chrome Default folder Already running Google Chrome in the background |
| Methods to Fix | Launch Google Chrome with new shortcut End task all the processes related to Chrome Configure Compatibility settings Delete Google Chrome Default folder Disable Antivirus |
1. Close all Chrome-related Processes
When Chrome appears unresponsive, it often remains as a background process, consuming resources silently and preventing a fresh instance from launching properly. Closing these residual Chrome processes frees up system resources and makes way for a clean, problem-free start of the browser. By doing so, you eliminate any previous session conflicts, which might clear the way for Chrome to open smoothly on your next attempt.
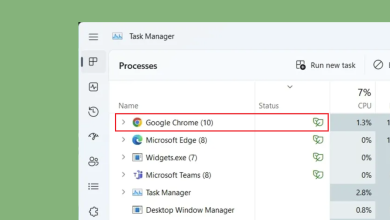
- Right-click the Taskbar and select Task Manager.
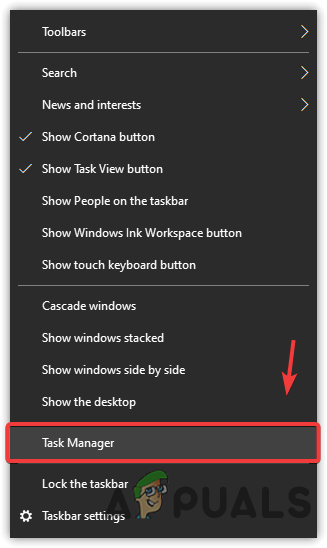
Launching Task Manager from the taskbar context menu - In Task Manager, find Google Chrome, select it, and click End Task on the right.
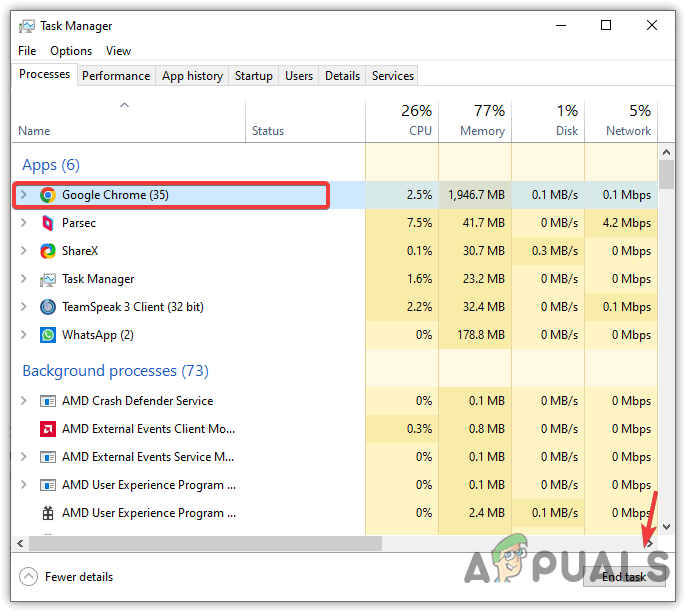
Ending tasks of Google Chrome - If Google Chrome is not listed in Task Manager, proceed to the next method.
- After closing Chrome processes, try opening the browser again to see if the issue persists.
2. Launch Chrome with a New Shortcut
Creating a new shortcut for Chrome can also resolve launching issues, often caused by Windows Defender or third-party antivirus software blocking the executable due to high memory and CPU usage.
- Find the existing Google Chrome shortcut on your desktop and right-click on it to select Open file location. If there isn’t a shortcut, navigate to the default Google Chrome installation folder:
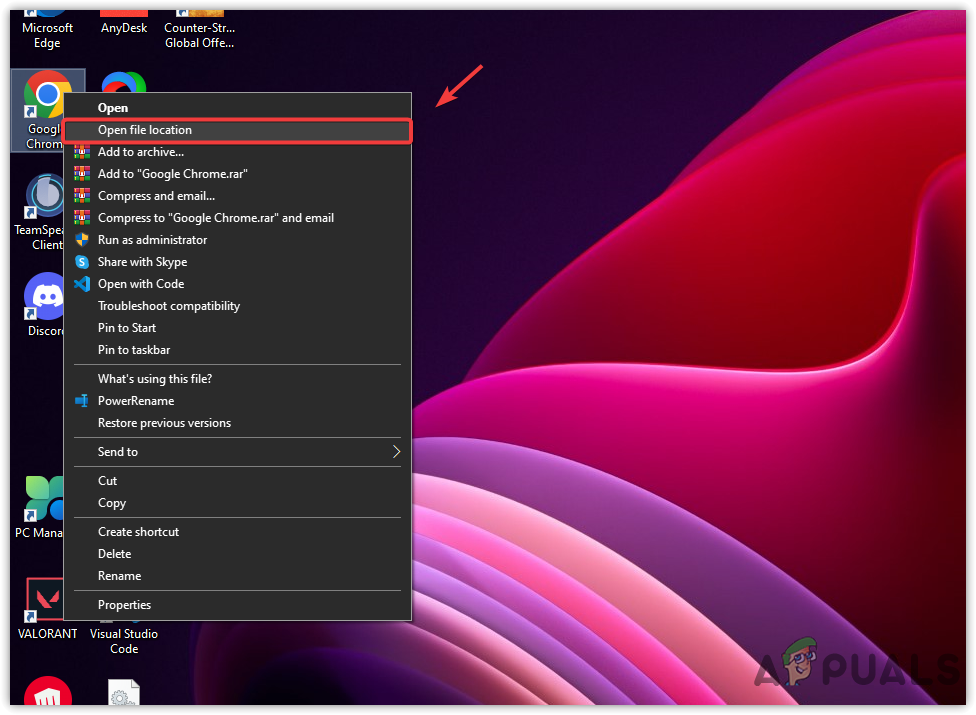
Navigating to the Google Chrome directory - Right-click on the Chrome application and select Create Shortcut.
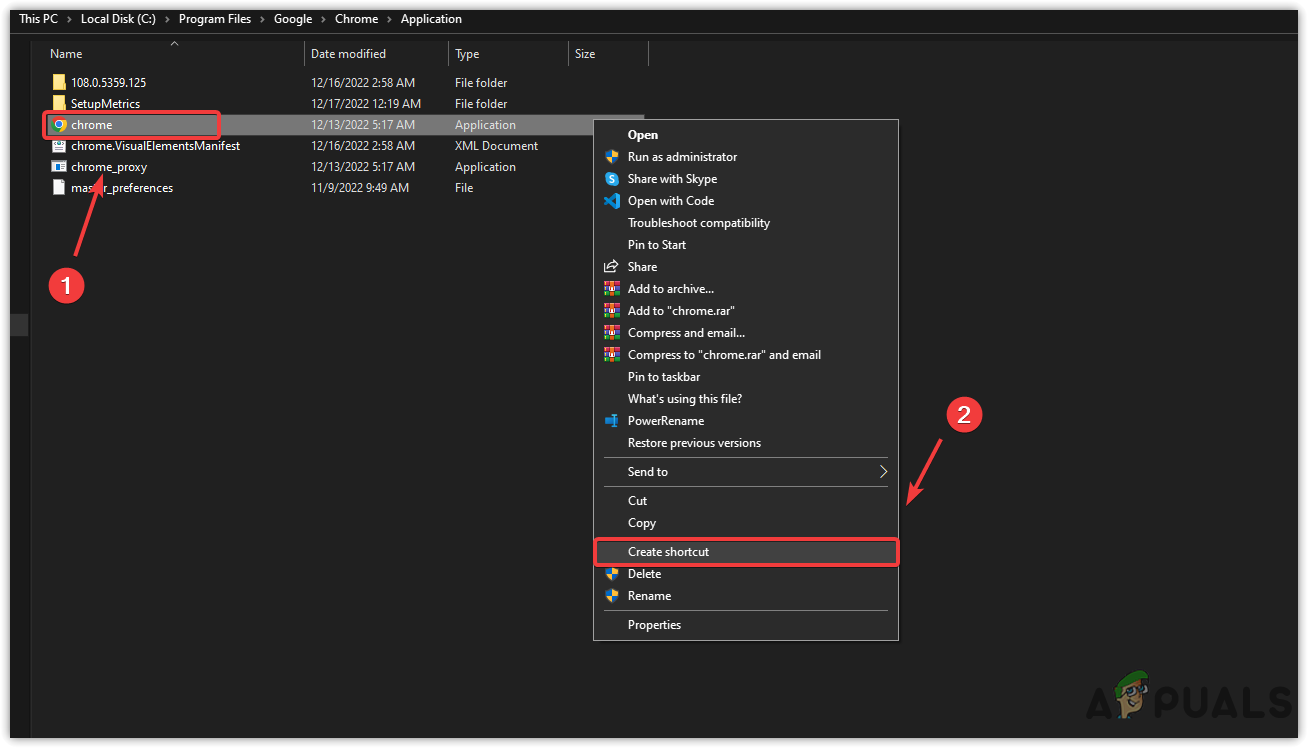
Creating a Chrome shortcut - When prompted, click Yes to create a desktop shortcut.

Clicking Yes to create a shortcut on the desktop - Delete the old desktop shortcut and attempt to launch Chrome using the new shortcut.
3. Open Chrome with Compatibility Settings
Basically, this option instructs your operating system to simulate an earlier environment, similar to previous Windows versions, under which Chrome may have functioned without issues. By selecting Compatibility Mode, you provide a familiar digital backdrop for the application, fixing potential conflicts that might come from more recent system updates that Chrome hasn’t adapted to yet.
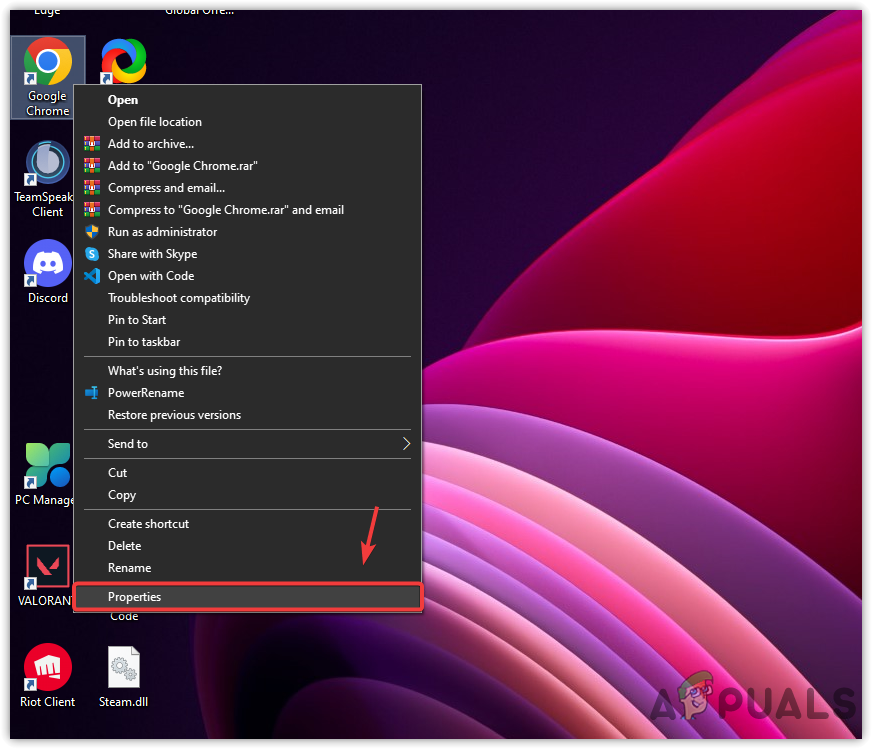
- Right-click the Chrome shortcut on your desktop or navigate to its installation directory.
- Select Properties from the context menu.

Opening Google Chrome Properties - Switch to the Compatibility tab.
- Select Run this program in compatibility mode for and choose Windows 8 from the dropdown.
- Apply the changes and click OK.
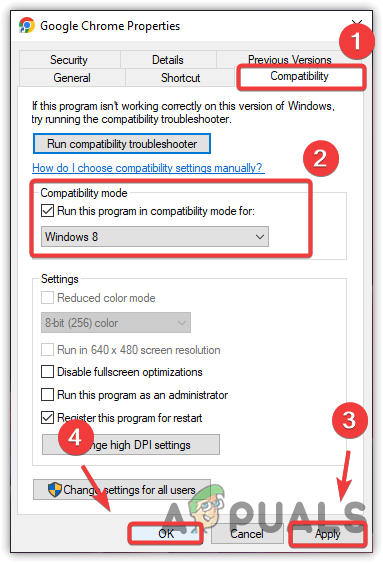
Configuring a program to run with an older version of Windows - Try launching Google Chrome to see if the compatibility change resolved the issue.
4. Remove Chrome’s User Data Default Folder
The Default folder in Chrome’s User Data directory holds all your personal customizations and information. Just like a cluttered room can slow you down, corrupted files within this folder can prevent Chrome from starting properly.
By clearing out this space you eliminate any damaged files that might be causing the issue. It’s a fresh start for your browser, which often gets it up and running smoothly again.
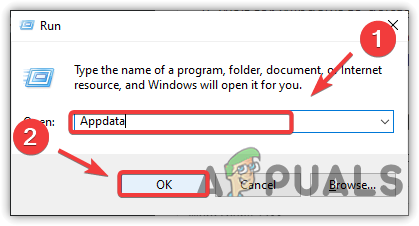
- Press Windows + R to open the Run dialog box.
- Type %appdata% and press Enter to open the AppData folder.
Navigating to the AppData folder - Navigate to
Local\Google\Chrome\User Data
- Right-click the Default folder and select Copy as a backup.
- Paste it into a different directory for safekeeping, then return to the User Data folder.
- Delete the original Default folder.
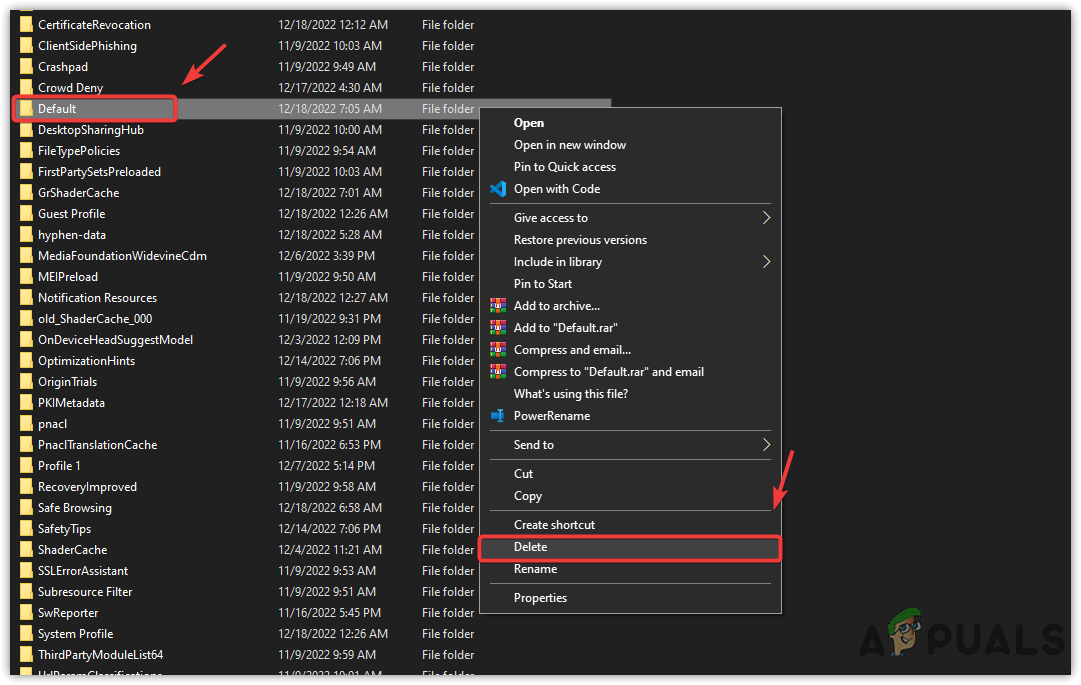
Deleting the Chrome configurations folder Note: The deletion process may take some time depending on your system’s performance.
- Once the Default folder has been removed, open Chrome to test if the problem has been resolved.
5. Untick “Register this program for restart” from Compatibility Settings
The Register this program for restart setting is intended to help programs recover from crashes by automatically restarting them. However, in rare cases, it could interfere with the initial launching process. By unchecking this setting for Google Chrome, you eliminate this potential disruption, allowing the browser to start normally without being caught in a problematic restart loop.
- Right-click the Chrome shortcut and select Properties.
Opening Google Chrome Properties - Go to the Compatibility tab.
- Un-tick Register this program for restart.
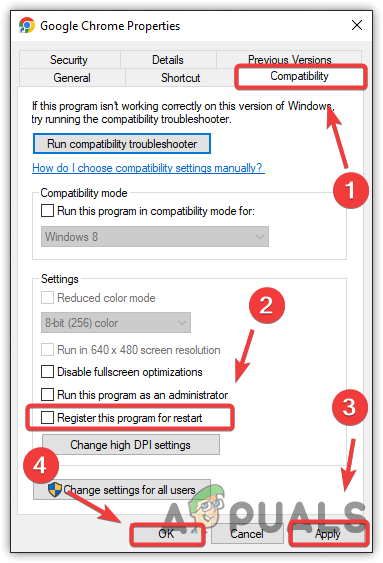
Configuring Compatibility settings - Click Apply and then OK.
- Attempt to open Chrome to verify if the change has fixed the opening issue.
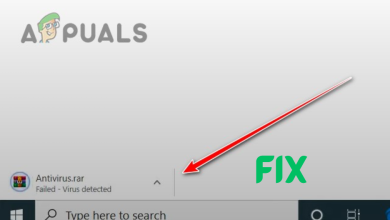
6. Disable Windows Defender or Third-party Antivirus Temporarily
In certain scenarios, Windows Defender or other antivirus programs can mistakenly identify Chrome as a threat. This false positive prevents the browser from opening as a protective measure. By temporarily disabling the security software, you remove this barrier, allowing Chrome to launch.
It’s a troubleshooting step to confirm whether the security tools are causing the problem, and once verified, you can adjust settings or report a false positive to the software provider. Remember to re-enable protection on-time to keep your system secure.
Windows Defender
- Press Win + I to open Settings.
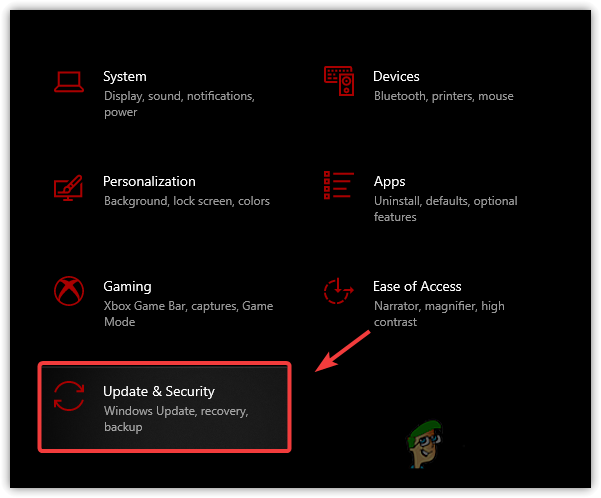
- Navigate to Update & Security.
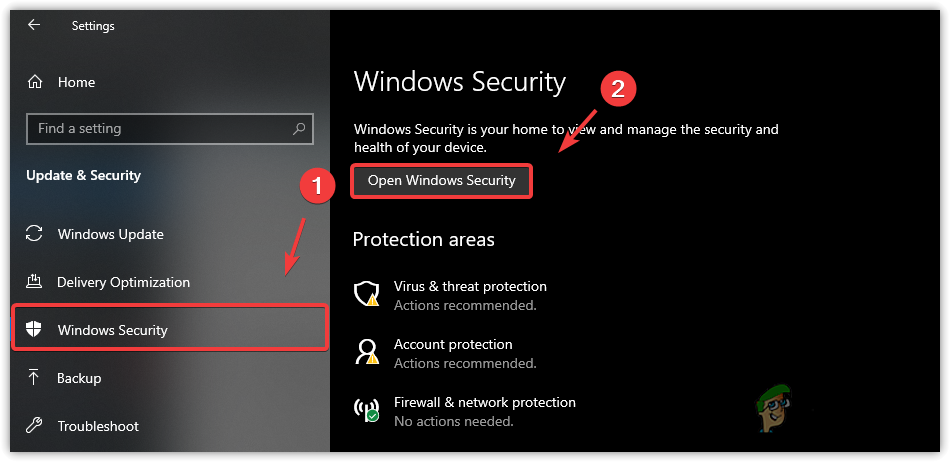
Navigating to Update and Security - From the left sidebar, choose Windows Security.
- In the right pane, click Open Windows Security, opening a dedicated window.
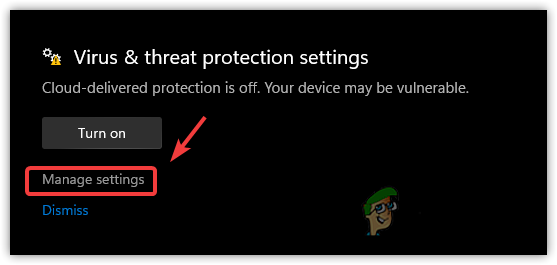
Opening Windows Security Window - Select Virus & threat protection.
- Under Virus & threat protection settings, click Manage settings.
Clicking Manage Settings under Virus & threat protection - Disable Real-time protection by toggling the switch to Off.
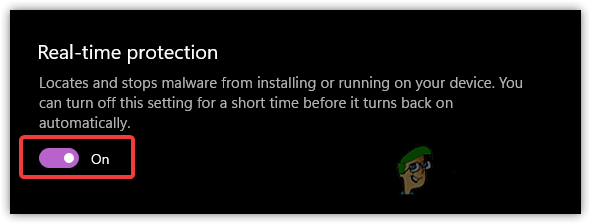
Turning Off Real-Time Protection
Third-party Antivirus
- Right-click the antivirus icon in the system tray.
- Hover over Avast Shield Control or the equivalent option for your software.
- Select Disable for 10 minutes or an equivalent temporary disable option.

Disabling Third-Party Antivirus - Makes sure that Windows Defender is also disabled.
- Try opening Chrome to see if the issue is resolved.
7. Reinstall Chrome
Reinstalling chrome, removes all data potentially corrupted, including settings and extensions that might interfere with the browser’s operation. Reinstallation creates a brand-new instance of Chrome with default settings, which can eliminate problems caused by previous configurations or files.
Before uninstalling, it’s important to remove Chrome’s data from the Appdata folder where configuration files may have become corrupted.
- Press Win + R to open the Run dialog.
- Type appwiz.cpl and press Enter.
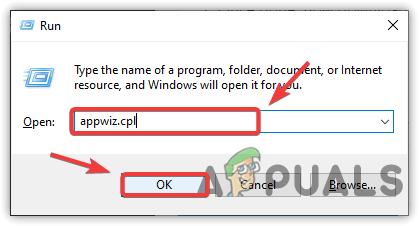
Navigating to Uninstall Programs Window - Double-click Google Chrome from the list to initiate uninstallation.
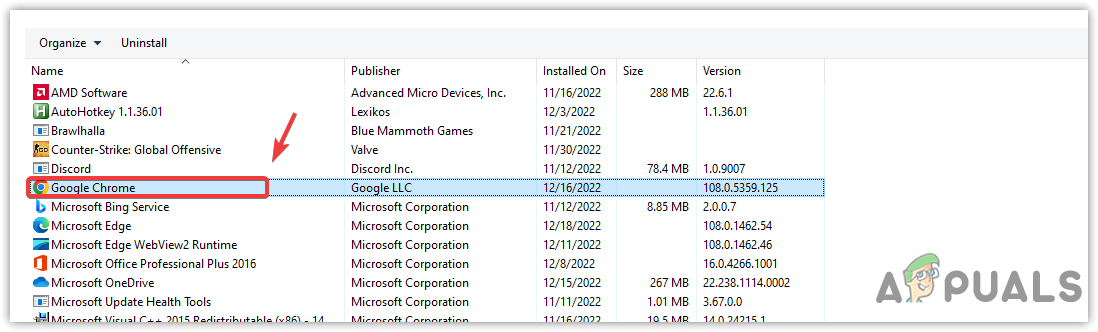
Uninstalling Chrome Application - Open the Run dialog again (Win + R).
- Type %appdata% and press Enter.
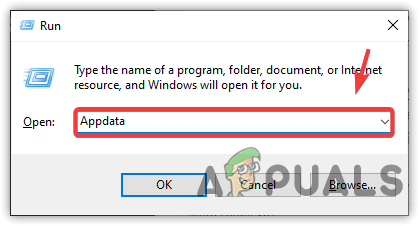
Opening the AppData folder - In the Local folder, locate the Google folder, right-click, and choose Delete.
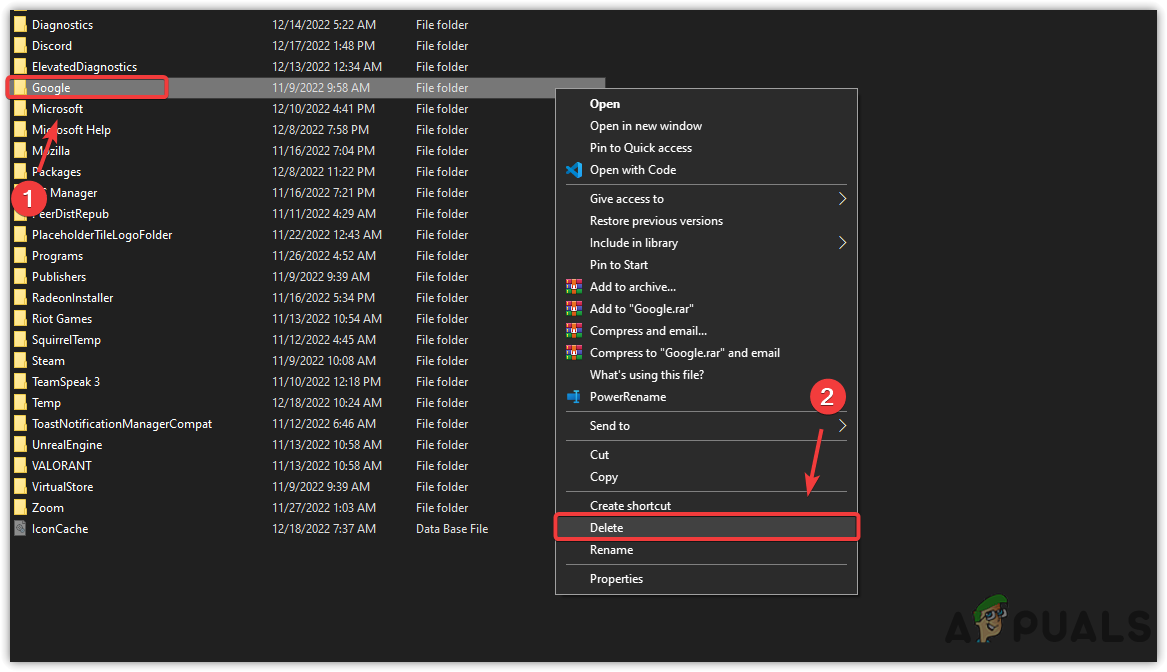
Deleting the Google folder from the AppData folder - After deletion, download Google Chrome from the official site and install it.